
Introduction
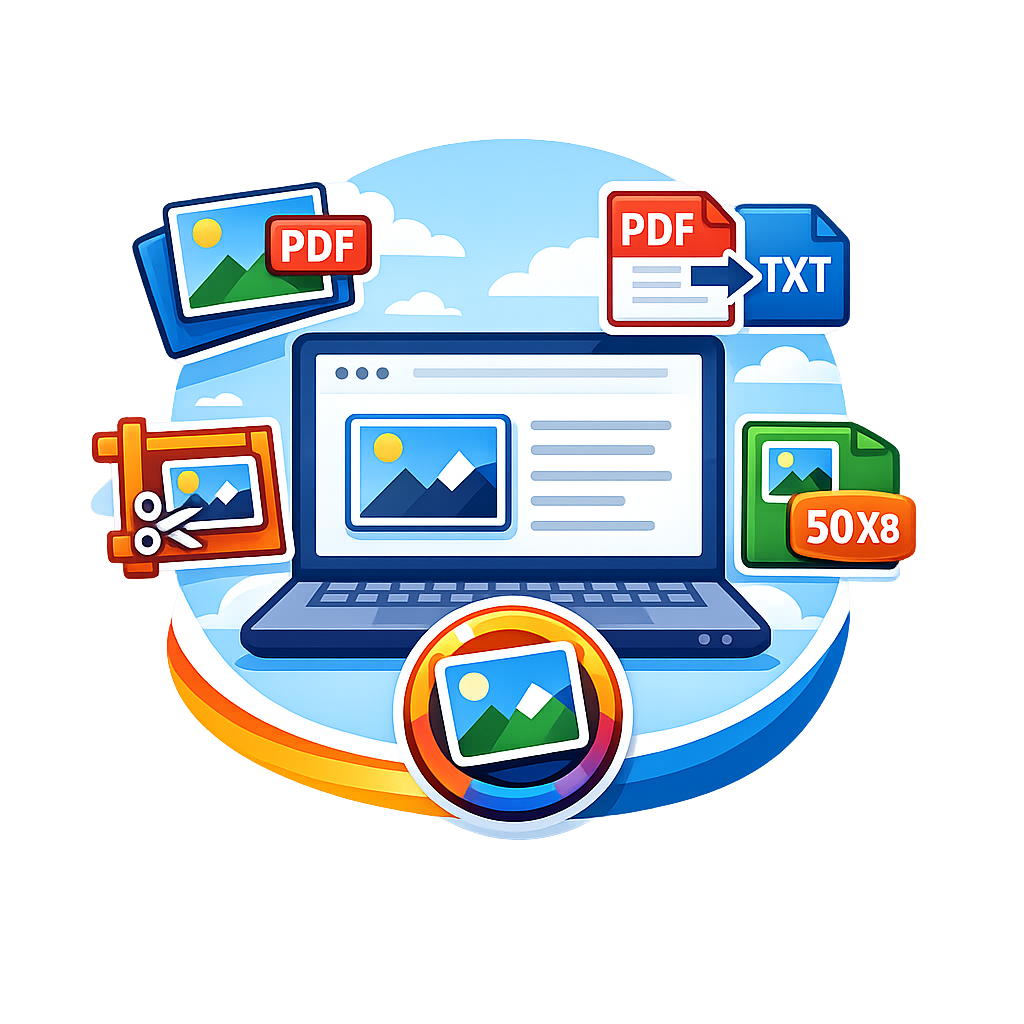
An Image to PDF Maker is a simple and useful tool that allows you to convert pictures into PDF documents in just a few clicks. Whether you have JPG, PNG, JPEG, or other image files, this tool helps combine them into a professional PDF file quickly.
People commonly use image-to-PDF tools for creating documents, saving scanned papers, organizing photos, submitting assignments, sharing receipts, and storing images in one secure file.
In this guide, you will learn how to use an Image to PDF Maker step by step.
Step 1: Open the Image to PDF Tool
First, visit your preferred Image to PDF Maker website. Once the page opens, you will usually see an upload section with buttons like:
- Upload Images
- Choose Files
- Select Photos
Most online image-to-PDF tools work directly in your browser, so there is no need to download or install software.
Step 2: Upload Your Images


Click the Upload Images button and select one or multiple images from your computer or phone.
Many tools also support drag-and-drop upload, making the process even easier.
After uploading, your selected images will appear in preview mode. You can check whether all images were uploaded correctly before continuing.
Tip: Use high-quality images for a better-looking PDF result.
Step 3: Arrange Images in Order
One of the best features of an Image to PDF Maker is the ability to organize images before conversion.
Most tools allow you to:
- Drag images to rearrange pages
- Remove unwanted images
- Rotate pictures if needed
- Adjust page size and margins
This step is important if you are creating reports, assignments, portfolios, or photo albums.
Step 4: Choose PDF Settings


Before converting, many tools provide customization options such as:
- Page Size (A4, Letter, Auto Size)
- Image Quality
- Portrait or Landscape Layout
- Margins and Spacing
Choose the settings based on your needs. For official documents, A4 size is usually the best option.
If you only need a simple PDF, default settings work perfectly.
Step 5: Convert Images to PDF
Once everything is ready, click the Convert, Create PDF, or Generate PDF button.
The tool will process your uploaded images and combine them into a single PDF document.
Depending on the number of images and file size, conversion usually takes only a few seconds.
Step 6: Download Your PDF File


After conversion is complete, a Download PDF button will appear.
Click it to save your new PDF document to your device.
Some tools may also offer options to:
- Share the PDF instantly
- Save to cloud storage
- Preview before downloading
Benefits of Using an Image to PDF Maker
There are many advantages of using an image-to-PDF converter:
- Combine multiple images into one file
- Easy sharing of photos and documents
- Better organization and storage
- Professional-looking file format
- Works on computers and mobile devices
- No software installation needed
Final Thoughts
An Image to PDF Maker is a fast and convenient tool for converting photos into PDF files. The process is simple: upload images, arrange them, select settings, convert, and download your PDF.
Whether you are a student, office worker, freelancer, or business owner, this tool makes document management easier and more professional. Try converting your images into a PDF today and enjoy a quick, hassle-free experience.
Leave a Reply